Sunday, January 19, 2025

Simple garden shed projects for beginners

Simple Garden Shed Makeovers & Projects for Beginners

Transforming your garden shed from a neglected space into a functional and aesthetically pleasing addition to your outdoor area doesn't require extensive building skills. With a little planning and some elbow grease, even beginner DIY enthusiasts can achieve impressive results. This guide presents simple projects perfect for novices, boosting your confidence and adding value to your garden.

Revitalizing Your Shed's Exterior

Begin your shed makeover with the most visible aspect â€" its exterior. A fresh coat of paint dramatically improves the shed's appearance and protects the wood from the elements. Choose a color that complements your garden's aesthetic. Before you start painting, thoroughly clean the shed's surface using a pressure washer or stiff brush to remove dirt, mildew, and loose paint. Allow it to dry completely before applying a quality exterior paint, ideally using a primer first for better adhesion and color vibrancy. For a more rustic look, consider using wood stain instead of paint. Remember to protect surrounding areas with drop cloths or plastic sheeting during the painting process.

Adding a Little Curb Appeal

Beyond paint, consider simple enhancements to increase your shed's curb appeal. Installing new window boxes overflowing with colorful flowers instantly brightens the shed's exterior. You can also add a decorative weather vane or a charming new door handle for a personalized touch. If your shed's wooden siding is looking a bit worn, consider replacing individual boards or adding decorative trim for a more polished finish. Even something as simple as adding a new coat of varnish to the door and window frames can make a significant difference.

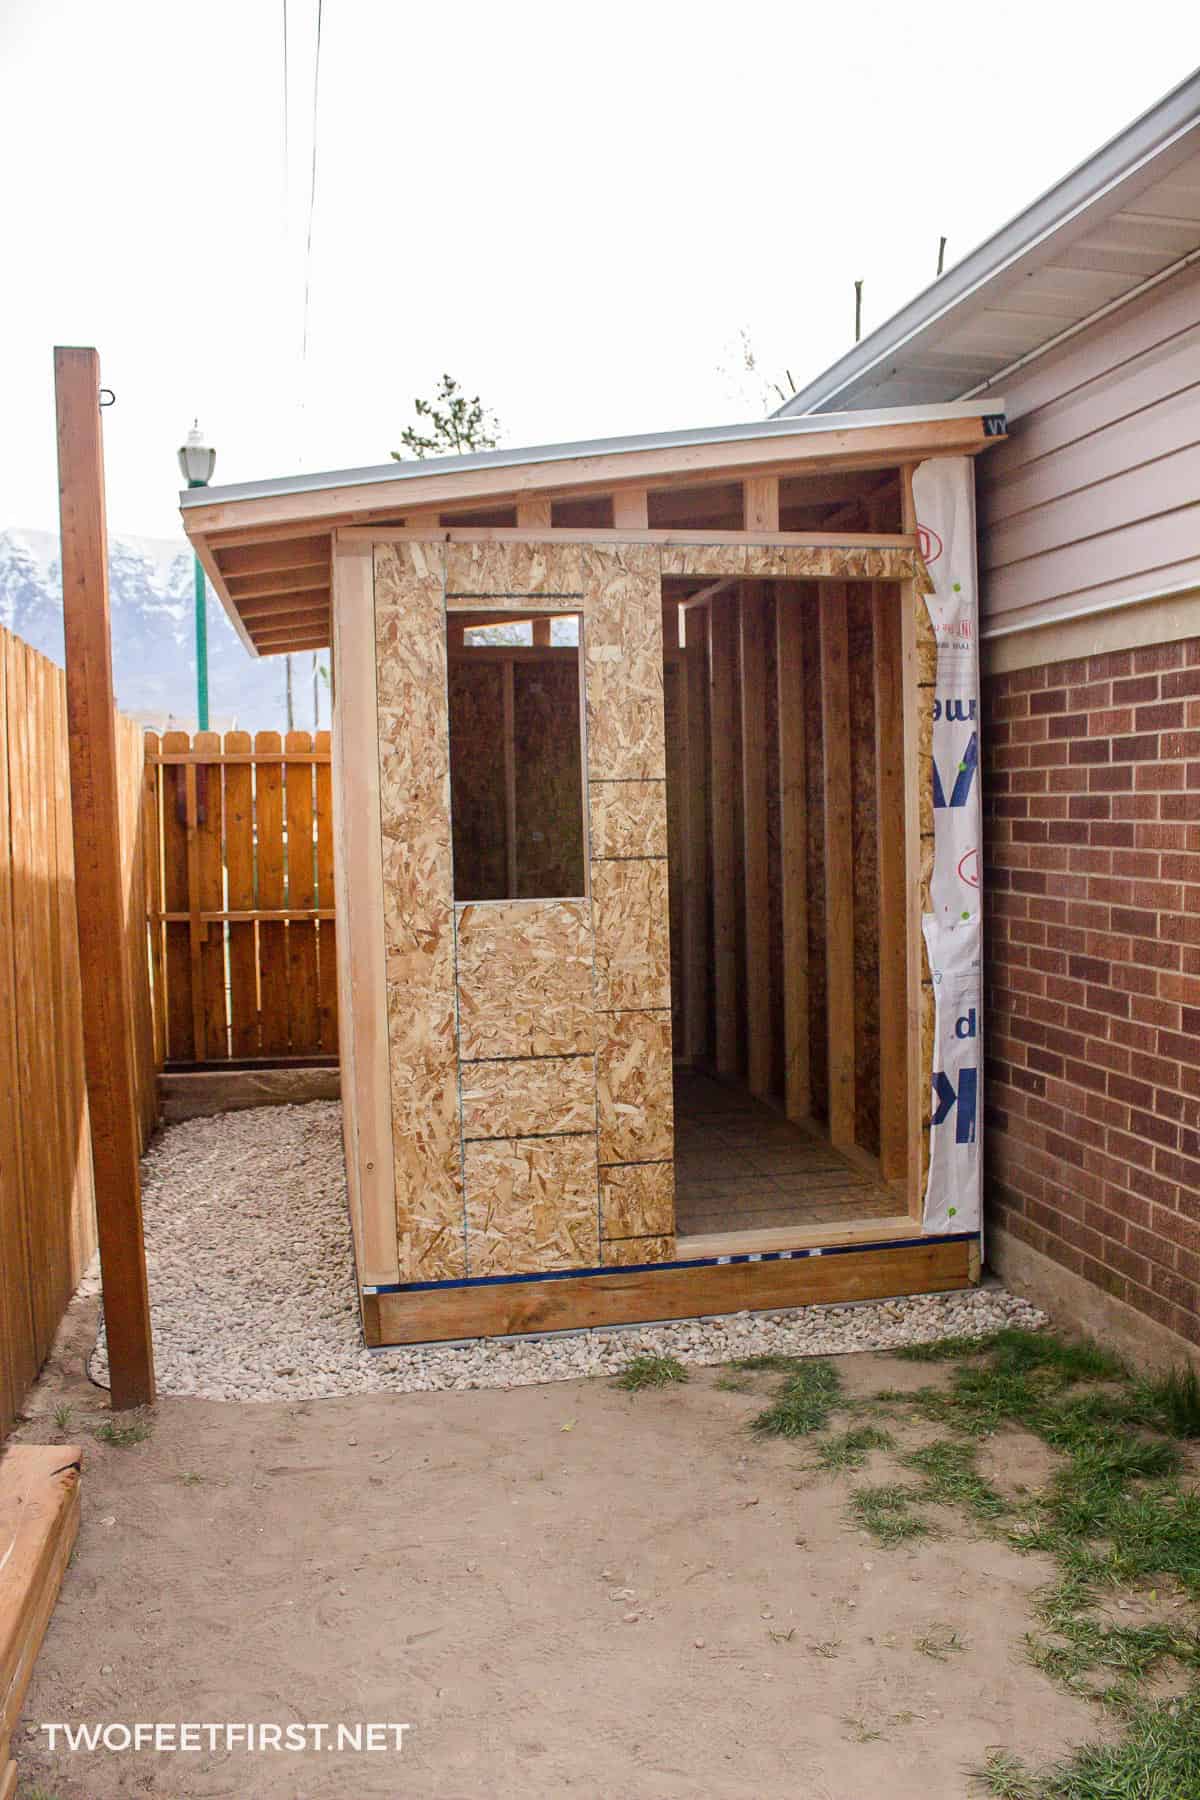
Optimizing Your Shed's Interior

Once the exterior is refreshed, turn your attention to the interior. Organizing the shed's contents is key to maximizing its usability. Start by clearing out everything inside, discarding unwanted items and organizing the remaining belongings into categories. Install shelving units to store items efficiently. Consider using adjustable shelving to accommodate various sizes of tools and equipment. You can build your own basic shelves using readily available lumber or purchase pre-made units for a quicker solution. Clearly label everything for easy access.

Improving Shed Lighting and Ventilation

Adequate lighting and ventilation are crucial for a comfortable and functional shed. Replace old, dim bulbs with brighter, energy-efficient LED lights. Consider adding a motion-activated light for enhanced security. Improving ventilation helps prevent moisture buildup, protecting your stored items from mold and mildew. Installing vents or a small window, even if it's just an added louver, can significantly improve air circulation. If your shed lacks adequate ventilation, consider adding a small fan to increase air movement.

Simple Construction Projects

For slightly more ambitious beginners, simple construction projects can further enhance your garden shed's functionality. Building a simple workbench provides a dedicated workspace for gardening tasks or DIY projects. A basic design using inexpensive lumber and simple joinery techniques is entirely manageable for beginners. Alternatively, constructing a small potting bench near a window maximizes light and provides a convenient area for potting plants. Always ensure your chosen wood is treated for outdoor use.

Essential Tools for Beginners

Before embarking on any project, ensure you have the necessary tools. A basic toolbox should include:

  • Hammer
  • Screwdriver (Phillips and flathead)
  • Measuring tape
  • Level
  • Saw (hand saw or circular saw)
  • Drill (optional but helpful)
  • Safety glasses
Remember to always prioritize safety and wear appropriate protective gear.

Thursday, November 21, 2024

How to Build a Lean-To Shed: Create a Simple and Reliable Shed

How to Build a Lean-To Shed: Create a Simple and Reliable Shed

Building Your Own Lean-To Shed: A Simple Guide

So, you're thinking about building a lean-to shed? Fantastic! It's a surprisingly achievable project, even for a DIY novice. A lean-to offers a great way to add extra storage or workshop space without breaking the bank or requiring advanced carpentry skills. This guide will walk you through the process, step-by-step, in a way that's easy to understand, even if you've never picked up a hammer before.

Planning Your Lean-To Shed: Laying the Foundation

Before you even think about grabbing your tools, some planning is crucial. This will save you headaches (and potentially materials) down the line.

1. Choosing the Right Location:

Where will your lean-to live? Consider these factors:

  • Proximity to your house: Lean-tos are often attached to existing structures, making this a major factor. Ensure you have enough space and access to the area you've chosen.
  • Sunlight and shade: Will your shed need protection from the elements? Think about how much sun exposure it will receive and how that might affect items stored inside.
  • Ground conditions: Is the ground level and stable? You might need to level the ground before you begin building. A slightly sloped area can work, as long as you adjust your foundation accordingly.
  • Access to utilities: If you're planning on using electricity, water or even just easy access for moving things in and out, consider how close the lean-to is to the main power, water sources etc.

2. Determining the Size and Dimensions:

How much space do you need? Measure carefully! Think about what you'll be storing in your shed. A larger shed is nice, but it also means more materials and labor. A smaller shed might suffice if all you need is extra storage space.

3. Gathering Your Materials:

This is where a detailed list really pays off. You'll need:

  • Pressure-treated lumber: For the frame, this is crucial for longevity and rot resistance.
  • Plywood or OSB sheeting: For the walls and roof.
  • Roofing material: Asphalt shingles are a popular and relatively inexpensive option.
  • Concrete blocks or a suitable foundation: Depending on the ground conditions and local building codes, your foundation may need to be more robust than just a few blocks.
  • Nails, screws, and other fasteners:
  • Measuring tape, level, saw, hammer, drill, etc.: Make sure you have the necessary tools for the job.
  • Optional: Window(s), door(s), paint, sealant.

It's always a good idea to buy slightly more materials than you think you'll need. This accounts for mistakes and potential waste.

Construction: Building Your Lean-To Shed

With your plan in place and your materials gathered, let's get building! Remember safety first â€" always wear appropriate safety glasses and gloves.

1. Preparing the Foundation:

Start by clearing and levelling the ground where your shed will sit. This is incredibly important for the stability of your structure. For a simple lean-to, a few concrete blocks might suffice, but you might want to check local building codes for more complicated foundations. Properly leveling your foundation blocks is crucial for a level shed, preventing structural problems later on.

2. Building the Frame:

This involves constructing the walls and roof support structure. Your measurements from the planning stage will be crucial here. You'll likely want to build the frame on the ground, and then lift it into place to avoid awkward assembly at height. Start with the base frame and then add the vertical supports. Remember to use a level constantly to ensure everything is square and plumb.

3. Attaching the Sheeting:

Once the frame is complete and secured, you can attach the plywood or OSB sheeting to the walls and roof. Ensure the sheeting is properly nailed or screwed to the frame, and use appropriate spacing to allow for expansion and contraction.

4. Roofing:

Roofing is the more complicated part, but follow your chosen roofing materials' instructions carefully. Whether it's asphalt shingles, metal sheeting or something else, proper installation will ensure weatherproofing and longevity. Often lean-tos have a single slope, simplifying the process.

5. Finishing Touches:

Add any finishing touches, such as a door, window, or paint. A simple coat of weather-resistant paint or sealant will protect your shed from the elements and improve its overall appearance.

Tips and Tricks for Success

  • Take your time: Rushing the process can lead to mistakes. Focus on accuracy and precision.
  • Use a level constantly: This is arguably the most important tool in your arsenal. A level shed is a stable shed.
  • Pre-drill holes: This prevents the wood from splitting when you’re screwing things together.
  • Ask for help: If you get stuck, don't hesitate to ask a friend or family member for assistance.
  • Check local building codes: This is crucial, especially if your lean-to is more substantial.

Commonly Asked Questions

Here are some frequently asked questions about building lean-to sheds:

Q: Do I need a permit to build a lean-to shed?

A: This depends on your local building codes and the size and complexity of your shed. It's always best to check with your local authorities before you begin construction.

Q: What is the best material for the roof?

A: Asphalt shingles are a popular and relatively inexpensive choice. Metal roofing is also a good option, offering greater durability.

Q: How can I make my lean-to shed more weatherproof?

A: Use high-quality materials, ensure proper sealing around windows and doors, and consider adding flashing around the roofline to prevent water leakage.

Q: How long does it take to build a lean-to shed?

A: The construction time varies depending on the size and complexity of the shed, as well as your experience level. A simple lean-to can be built in a weekend, while a more complex structure might take several days or even longer.

Q: Can I use reclaimed lumber to build my lean-to shed?

A: While you can potentially use reclaimed lumber, make sure it's appropriately treated and in good condition to ensure structural integrity and longevity. Inspect it carefully for rot, pests and structural damage.

Building a lean-to shed can be a rewarding experience. With careful planning and attention to detail, you can create a valuable addition to your property that will last for years to come. Remember to always prioritize safety and take your time â€" the result will be worth the effort!

How to Make a Wood Pallet Shed That’s Simple, Sturdy, and Stylish

How to Make a Wood Pallet Shed That’s Simple, Sturdy, and Stylish

Building Your Dream Pallet Shed: Simple, Sturdy, and Stylish

Tired of cluttered garages and overflowing storage spaces? Yearning for a charming and functional addition to your backyard? Building a shed from reclaimed wood pallets offers a surprisingly simple, cost-effective, and environmentally friendly solution. This guide walks you through creating a sturdy and stylish pallet shed, perfect for storing garden tools, bicycles, or anything else you need to keep organized and protected from the elements.

Planning Your Pallet Shed

Before you dive into construction, careful planning ensures a smooth process and a satisfying result. Start by sketching your desired shed dimensions. Consider the available space in your yard and the amount of storage you need. Remember to check local building codes and obtain any necessary permits before starting construction. Next, gather your materials. This includes reclaimed wood pallets (inspect them carefully for soundness and treat them if necessary), screws, posts for the base, roofing material (corrugated metal or asphalt shingles work well), and any desired finishing touches like paint or stain. A detailed shopping list ensures you won't be caught short during the project.

Choosing the Right Pallets

Not all pallets are created equal. Look for sturdy pallets made of hardwood, free from rot, warping, and excessive damage. Avoid pallets marked with the "HT" (heat treated) stamp if you plan to use them for food storage. If the pallets are treated with chemicals, research safe methods of cleaning and preparation before construction. Clean them thoroughly, removing any loose nails, staples, or debris. Once you have a good supply, you can begin the actual building process.

Constructing the Pallet Shed's Foundation

A solid foundation is crucial for a long-lasting structure. Begin by leveling the ground where you intend to build. Use a spirit level and adjust the ground as needed. Then, set concrete posts or treated lumber posts into the ground, creating a perimeter for your shed. Ensure the posts are deeply embedded for stability. This frame will provide support for the pallet walls. Once the posts are securely in place, you can begin assembling the pallet walls.

Assembling the Pallet Walls and Roof

Carefully dismantle any unwanted sections from your pallets to create uniform building blocks. Construct the walls by attaching the pallets to each other using sturdy screws. Ensure the joints are tight and secure. For added strength, consider using metal brackets or corner braces. Once the walls are complete, you can begin assembling the roof. Build a basic frame using treated lumber or reclaimed wood, and then attach your chosen roofing material. Remember to allow for sufficient overhang to protect the walls from rain. Finally, secure the roof to the walls.

Adding Finishing Touches

Once the structural work is complete, personalize your pallet shed. Adding a door is essential for easy access. You can use reclaimed wood or purchase a pre-made door. Paint or stain the pallets to enhance the shed’s appearance and protect the wood from the elements. Consider adding windows for ventilation and natural light. Finally, landscape around the shed to create a cohesive and attractive addition to your outdoor space.

Essential Tools and Materials

Before you begin, gather these essential tools and materials:

  • Reclaimed wood pallets
  • Screws (various sizes)
  • Drill with drill bits
  • Level
  • Measuring tape
  • Saw (circular saw or hand saw)
  • Hammer
  • Safety glasses
  • Work gloves
  • Roofing material
  • Posts for the base
  • Optional: Paint, stain, windows, door

Building a pallet shed is a rewarding project that combines creativity, practicality, and sustainability. By following these steps, you can create a beautiful, functional, and sturdy addition to your property. Enjoy the process and the satisfaction of building something with your own hands!

How to Build a Strong Wooden Pallet Shed with Simple Plans

How to Build a Strong Wooden Pallet Shed with Simple Plans

Building a Sturdy Pallet Shed: A Simple Guide

Tired of clutter piling up in your garage or backyard? Dreaming of a simple, affordable storage solution? Building a shed from reclaimed wooden pallets offers a fantastically budget-friendly and environmentally conscious alternative to expensive pre-fabricated structures. This guide provides clear, step-by-step instructions to help you construct your own durable and attractive pallet shed. Get ready to transform unused space into organized storage!

Planning Your Pallet Shed

Before you dive into construction, careful planning ensures a successful project. First, determine the desired dimensions of your shed. Consider the storage needs and the available space in your yard. Sketch a simple plan, noting the placement of the door, windows (if any), and any internal shelving. Next, source your pallets. Inspect each pallet thoroughly for rot, damage, and loose nails before selecting them. Aim for sturdy pallets made of pressure-treated lumber for optimal durability. Finally, gather your tools and materials. This includes a saw (circular saw is ideal), hammer, nails or screws, a level, measuring tape, safety glasses, work gloves, and potentially a drill with appropriate drill bits.

Essential Materials Checklist

Beyond the pallets, you'll need these items:

  • Strong screws (exterior-grade recommended)
  • Wood shims (for leveling)
  • Concrete blocks or a suitable foundation
  • Roofing material (tar paper, corrugated metal, or shingles)
  • Hinges for the door
  • A door latch or lock
  • Optional: Paint or stain for weather protection

Constructing the Shed Frame

Begin by creating a solid foundation. Concrete blocks provide a simple and effective base, ensuring stability and preventing rot. Level the blocks carefully using shims. Then, assemble the pallet walls. For maximum strength, use multiple pallets for each wall, securing them together using screws or nails. Pay close attention to vertical alignment and reinforce the corners with extra bracing. Remember to leave space for your door opening. Once the walls are complete, carefully lift and secure the walls onto your foundation. Use additional bracing between the walls to increase structural integrity.

Adding the Roof and Finishing Touches

The roof is crucial for protecting your stored items. Construct a simple gable or shed roof using additional pallets or lumber. Ensure the roof frame has adequate support and slope for water runoff. Then, cover the roof with your chosen roofing material. Tar paper provides basic weather protection, while corrugated metal or shingles offer enhanced durability and aesthetics. Finally, install your door using hinges and a latch. Add any desired internal shelving, and consider painting or staining the pallets for added protection and a polished look. Regularly inspect your shed and perform minor repairs as needed.

Safety First!

Remember, safety is paramount. Always wear safety glasses and work gloves to protect yourself from flying debris and splinters. Use caution when handling power tools. If unsure about any step, seek assistance from an experienced builder. Properly disposing of waste materials responsibly concludes the project.

With a little planning and effort, you can easily build a functional and attractive pallet shed to keep your belongings safe and organized. Enjoy your new storage solution!

How to Build a Strong and Functional Wood Pallet Shed on a Budget

How to Build a Strong and Functional Wood Pallet Shed on a Budget

Constructing a Budget-Friendly and Robust Wood Pallet Shed

The allure of a dedicated storage space is undeniable, particularly for homeowners seeking to organize outdoor equipment and supplies. However, the cost of commercially available sheds can be prohibitive. A compelling alternative lies in repurposing readily available and cost-effective materials: reclaimed wood pallets. This comprehensive guide details the process of constructing a strong and functional wood pallet shed while adhering to a stringent budget. Careful planning and execution are key to achieving a durable and aesthetically pleasing structure.

Phase 1: Planning and Material Acquisition

Before commencing construction, meticulous planning is paramount. This phase involves determining the shed's dimensions, location, and material sourcing, ensuring a smooth and efficient building process.

Determining Shed Dimensions and Location

The dimensions of your pallet shed should be dictated by your storage needs and the available space. Consider the types and quantities of items you intend to store. Accurate measurements are crucial to avoid material waste and structural instability. Furthermore, select a location that is level, provides adequate drainage, and complies with local building regulations. Proximity to a power source might also be advantageous, depending on your planned use of the shed.

Sourcing and Assessing Pallets

The cornerstone of this project is the acquisition of suitable wood pallets. Source pallets from reputable businesses, ensuring they are heat-treated and free from pests or significant damage. Inspect each pallet thoroughly for signs of rot, warping, or broken boards. Aim for pallets of consistent size and quality to simplify construction. Consider the type of wood; hardwood pallets are more durable but may be harder to find. Calculate the required number of pallets based on your chosen shed dimensions. Remember that you may need extra pallets for unforeseen repairs or replacements.

Gathering Additional Materials and Tools

Beyond pallets, several additional materials are essential. This includes:

  • Concrete blocks or a suitable foundation: To ensure stability and prevent ground rot.
  • Pressure-treated lumber: For framing, supports, and any structural elements not constructed from pallets.
  • Roofing materials: Consider corrugated metal sheets, asphalt shingles, or recycled materials for cost-effectiveness.
  • Fasteners: A variety of screws, nails, and possibly bolts depending on your chosen construction methods.
  • Exterior-grade wood sealant or paint: For protection against the elements and enhanced aesthetics.
  • Hardware cloth or mesh: To deter pests and small animals.

Necessary tools include a measuring tape, saw (circular saw or hand saw), hammer, drill, screwdriver, level, and safety glasses. Consider renting power tools if purchasing them isn’t feasible.

Phase 2: Foundation and Frame Construction

A solid foundation is crucial for the longevity and structural integrity of your pallet shed. Proper framing will ensure the shed's overall stability and shape.

Preparing the Foundation

Level the chosen ground area thoroughly. For a simple and budget-friendly foundation, use concrete blocks. Arrange them to form a perimeter matching your shed's dimensions. Ensure the blocks are level and stable. Alternatively, a compacted gravel base can be used, providing drainage and a stable surface. Avoid directly placing the pallets on the bare ground to prevent rot and pest infestation.

Constructing the Frame

Using pressure-treated lumber, build a frame around the foundation. This frame acts as the primary support structure for the pallet walls. Construct a rectangular frame, ensuring all corners are square and level using a spirit level. Secure the frame to the concrete blocks or gravel base using appropriate fasteners. The frame should be robust enough to support the weight of the pallets and the roofing material.

Erecting the Pallet Walls

Carefully attach the pallets to the frame. Ensure the pallets are tightly fitted together and aligned. Use screws or nails to secure them to the frame. Consider using additional bracing, particularly at corners and junctions, to enhance structural strength. Stagger the pallet joints to enhance stability and distribute the load effectively. Fill any gaps between pallets with suitable sealant or wood filler for weatherproofing.

Phase 3: Roofing and Finishing Touches

The roofing and finishing touches complete the shed, providing protection from the elements and enhancing its overall appearance.

Installing the Roof

The roof structure depends on your chosen roofing material. You may opt for a simple gable roof or a shed roof. Construct the roof framing using pressure-treated lumber, ensuring adequate support and stability. Secure the chosen roofing material (corrugated metal sheets, asphalt shingles, etc.) to the framing, following the manufacturer's instructions. Proper sealing is crucial to prevent water leaks.

Adding Doors and Windows

Construct a door frame using pressure-treated lumber and incorporate a suitable door. Pallet wood can be utilized for creating a rustic door, but ensure adequate strength and security. Similarly, consider incorporating windows for ventilation and natural light. Pallet wood can be repurposed, but consider using glass or plexiglass for a more robust solution.

Sealing and Finishing

Apply a high-quality exterior-grade wood sealant or paint to all exposed wood surfaces. This will protect the wood from the elements and prolong the lifespan of the shed. Select a durable and weather-resistant finish. Consider adding a layer of pest control to deter insects and animals.

Phase 4: Safety and Considerations

Prioritize safety throughout the entire construction process and consider environmental impact.

Safety Precautions

Always wear appropriate safety gear, including safety glasses, gloves, and work boots. When using power tools, follow all safety instructions and wear appropriate hearing protection. Be mindful of the weight of materials and seek assistance when lifting heavy objects. Work in a well-lit area and maintain a clean workspace to prevent accidents.

Environmental Considerations

The repurposing of pallets contributes to sustainable building practices. Ensure the pallets are sourced responsibly and ethically. Dispose of any waste materials responsibly, recycling or repurposing whenever possible. Consider using eco-friendly paints and sealants to minimize environmental impact.

By following these steps, you can successfully construct a durable, functional, and budget-friendly wood pallet shed. Remember that thorough planning and careful execution are key to achieving a structure that meets your needs and enhances your property. Enjoy the satisfaction of creating something useful and unique from reclaimed materials.

How to Build a Lean-To Shed: Step-by-Step Instructions for Beginners

How to Build a Lean-To Shed: Step-by-Step Instructions for Beginners

Building Your First Lean-To Shed: A Beginner's Guide

Ready to conquer your outdoor storage woes and build something amazing with your own two hands? A lean-to shed is the perfect project for beginner DIYers. It's relatively simple to construct, requires fewer materials than a freestanding shed, and provides valuable sheltered space. This step-by-step guide will walk you through the entire process, ensuring you build a sturdy and functional lean-to shed with confidence.

Planning and Preparation: Laying the Foundation for Success

Before you even grab a hammer, careful planning is crucial. Start by deciding on the location for your shed. Consider proximity to your house (for easy access), existing structures for support, and the overall aesthetic. Next, determine the dimensions of your lean-to. Sketch a simple design, noting the length, width, and height. Measure twice, cut once! This seemingly simple step will save you headaches down the line. Finally, obtain all necessary permits and acquire your building materials. A detailed shopping list, including lumber, roofing materials, fasteners, and tools, will streamline the construction process. Remember to account for any potential waste or unexpected needs.

Essential Tools and Materials

Gather these essential tools and materials before you begin:

  • Measuring tape
  • Level
  • Shovel
  • Post-hole digger (if needed)
  • Circular saw or hand saw
  • Drill with various drill bits
  • Hammer
  • Safety glasses and work gloves
  • Pressure-treated lumber for the frame
  • Roofing material (e.g., corrugated metal, asphalt shingles)
  • Fasteners (nails, screws)
  • Concrete mix (for posts, if needed)

Building the Frame: The Backbone of Your Lean-To

Begin construction by building the frame of your lean-to. This is where your planning pays off. If you're leaning your shed against an existing structure, secure the rear support beams to it using appropriate fasteners. Ensure they are level and plumb. For a free-standing rear wall, you’ll need to dig post holes, set the posts in concrete, and then attach the horizontal beams. Next, erect the side supports, ensuring they are perfectly square and level. Finally, attach the top horizontal beam, completing the rectangular frame. Carefully check all measurements throughout this stage to guarantee a stable structure.

Securing the Support

The strength and stability of your lean-to shed hinges on the proper securing of your support beams. Whether you are attaching to an existing structure or using posts, ensure a strong and level base. Consider using additional bracing or supports for added stability, especially if your shed will be in a high-wind area.

Adding the Roof: Providing Shelter and Protection

With the frame complete, it’s time to add the roof. This step involves attaching the roof rafters to the top beam and the rear support. Make sure the rafters are evenly spaced and securely fastened. Consider using metal brackets for added strength and support. Once the rafters are in place, cover them with your chosen roofing material. Follow the manufacturer's instructions carefully for installation. Remember to ensure proper overlap and sealing to prevent leaks. Take your time and double-check every step to achieve a water-tight and durable roof.

Finishing Touches: Adding the Final Details

The final steps involve adding any finishing touches to personalize and enhance your new lean-to. Consider adding siding to the walls, if desired, for a more finished look. Install a door if needed for easy access. You could paint the shed to match your house or choose a bold color for a unique statement piece. Adding shelves or other storage solutions inside will make it more functional. Finally, step back and admire your handiwork! You’ve successfully built your own lean-to shed, a testament to your DIY skills and a valuable addition to your property.

Remember: Safety first! Always wear appropriate safety gear and follow proper building codes. If you are unsure about any step, consult a professional.

DIY Basic Shed Plans: Simple and Functional Design for Any Yard

DIY Basic Shed Plans: Simple and Functional Design for Any Yard

DIY Basic Shed Plans: Simple and Functional Design for Any Yard

Tired of clutter piling up in your garage or overflowing from your closets? A shed offers the perfect solution! Building your own shed not only provides valuable extra storage space but also offers a rewarding DIY project. This guide provides simple, functional shed plans that you can adapt to fit your yard and needs, even if you're a beginner DIYer. We'll walk you through the process, demystifying shed construction and empowering you to create the perfect addition to your outdoor space. Forget expensive pre-fabricated options â€" you can build a sturdy, customized shed yourself!

Planning Your Basic Shed

Before you grab your tools, careful planning is crucial. Consider the following:

Size and Dimensions

Start by determining the size you need. A small shed (6ft x 8ft) is perfect for basic storage, while a larger one (8ft x 10ft or larger) accommodates more items. Sketch your desired dimensions, keeping in mind local building codes and your yard’s available space. Accurate measurements prevent costly mistakes later.

Location, Location, Location

Choose a level spot in your yard with easy access. Consider sunlight and drainage â€" you'll want a location that minimizes water buildup and provides sufficient sunlight for proper ventilation if needed. Check for underground utilities before digging foundations.

Materials and Tools

Pressure-treated lumber forms the foundation of this basic shed. This resists rot and insects. You'll also need plywood for siding and roofing, screws, nails, a level, measuring tape, saw, drill, and post hole diggers (or a power auger for larger projects). Create a detailed materials list to avoid unnecessary trips to the hardware store. Don't forget any needed hardware such as hinges, a latch, and potentially window frames if desired.

Construction Steps: A Simple Approach

This section outlines the basic construction steps. Remember to always prioritize safety and wear appropriate protective gear.

Foundation

Build a simple concrete slab or use pressure-treated lumber for a foundation. For a concrete slab, level the ground, create a formwork, and pour concrete, ensuring a level surface. A pressure-treated lumber foundation requires creating a frame from treated 4x4s, set in concrete-filled post holes dug at the corners and at intervals along the sides for support.

Framing the Walls and Roof

Construct the walls using pressure-treated lumber for the base and studs. Follow your dimensions carefully, ensuring square corners using a speed square. Once the walls are framed, attach plywood sheathing to the exterior. The roof can be a simple gable roof, which is easy to construct. Frame the roof rafters and attach plywood sheathing. Ensure the roof is adequately sloped to allow water runoff.

Siding and Roofing

Apply your chosen siding material (plywood is a cost-effective option). For the roof, use asphalt shingles or roofing felt, ensuring proper overlap for watertightness. You can add extra touches, like painting the exterior to match your house or adding decorative trim.

Finishing Touches

Install a door (pre-hung doors simplify the process), hinges, and a latch. Add any windows you've planned. Consider adding shelving inside to maximize storage space. Finally, clean up the area and admire your handiwork!

Beyond the Basics: Customization Options

Once you have the basic shed built, you can customize it to fit your specific needs.

  • Add windows: Improve ventilation and natural light.
  • Install shelving: Optimize interior storage.
  • Add a workbench: Turn your shed into a workshop.
  • Paint the exterior: Enhance the aesthetic appeal.
  • Install electricity: Provide power for tools and lighting (requires professional help for wiring).

Building your own shed is a rewarding experience that provides lasting value. By following these simple plans and prioritizing careful planning, you'll have a functional and personalized storage solution in no time. Remember to adjust these plans to fit your specific needs and always prioritize safety throughout the building process.